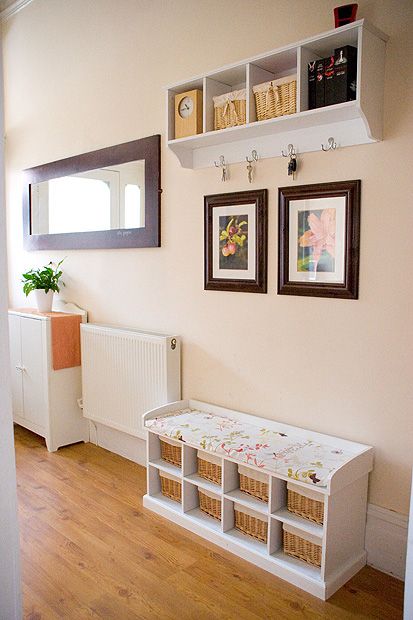
Do you see that little white cabinet behind the door (Hensvik from Ikea)? (By the way, the plastic bin next to it holds Grant's work boots.)
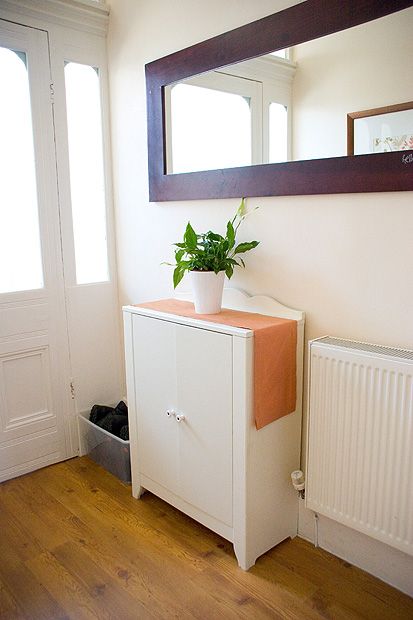
We use it to store shoes in but I'm sure you can imagine how few shoes we can fit in it with the one lone shelf that is included. We did cobble together extra shelves but because we only stuck the supports to the sides of the cabinet with adhesive they soon fell down.
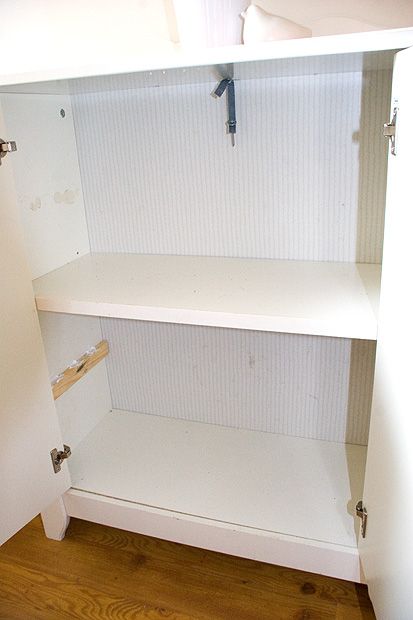
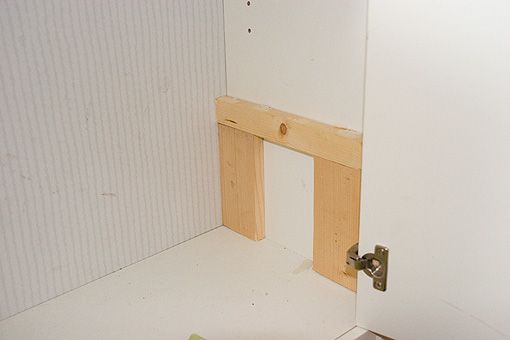
Today I used some scrap boards to make legs for the supports so that they were better supported:
I then cut some boards to the correct length for the shelves and used spray adhesive to stick them to some leftover plastic fabric (extra from my tablecloth). I used my staple gun to wrap the fabric around the boards:
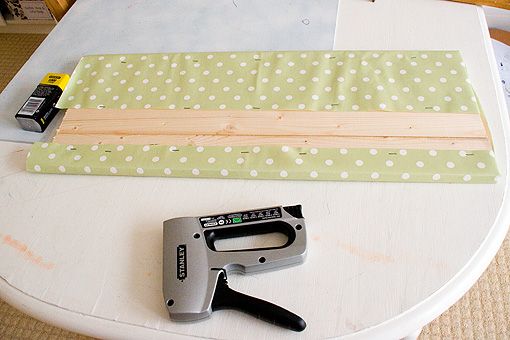
I made sure to place staples at the joins on the sides to hold the boards together:
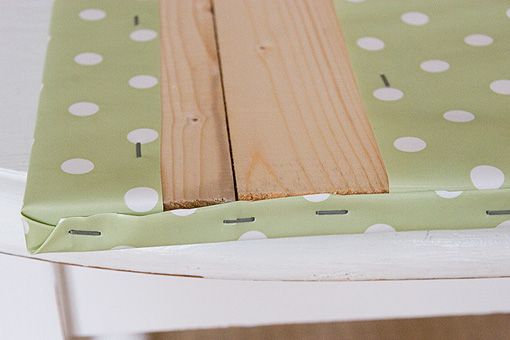
Voila, one shelf done, one to go:
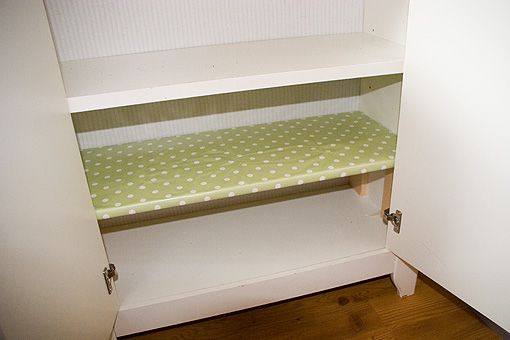
And done! The fabric is creased from being folded but will soon relax and smooth out. I was going to paint the shelf supports white but since you hardly see them I won't bother:
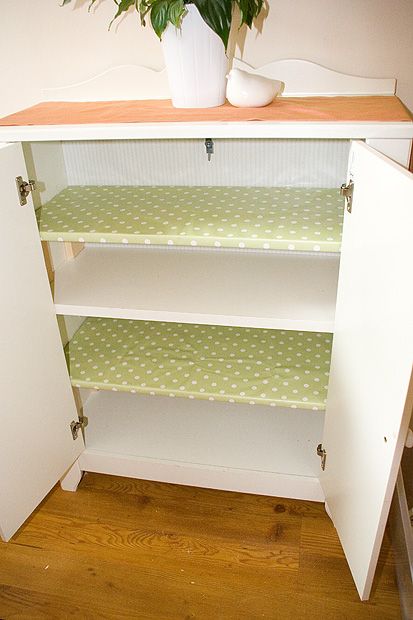
Ta-da! Top shelf is Noah's and holds his trainers, crocs and school shoes (which double up as church shoes). The second shelf holds a pair of trainers in the next size up, waiting for him to grow into, and my shoes. The shelf below holds Daniels trainers, crocs and school shoes and the bottom shelf is for Grant's crocs and trainers. The rest of Grant's and my shoes are upstairs; the boys each only own the three pairs mentioned - trainers, crocs and black shoes.
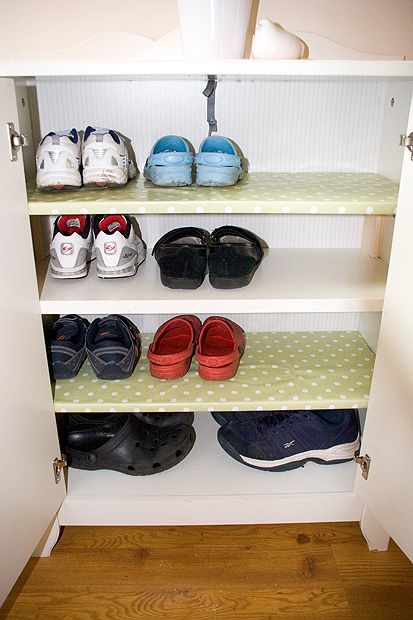
It took me about half an hour to literally double the storage space in this cabinet and didn't cost a penny. Well worth the time! Now if I can only train my children to park their shoes in the right spots instead of just chucking them in then my happiness will be complete.
